
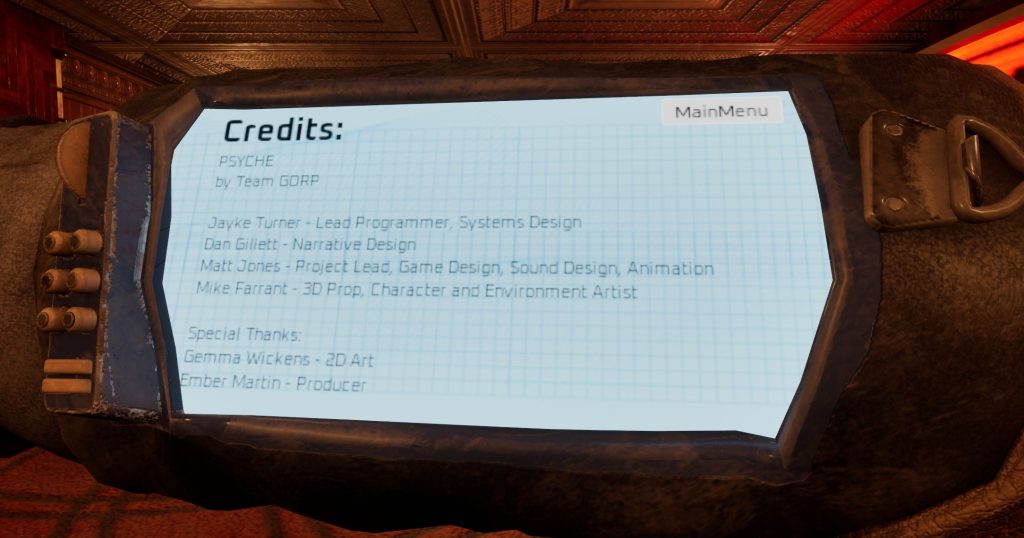
In this project, I worked in a team of four to produce my final project for my game design masters. This game was created in Unreal Engine 5. My role was Lead Programmer and Systems Design.
What is “Psyche”?
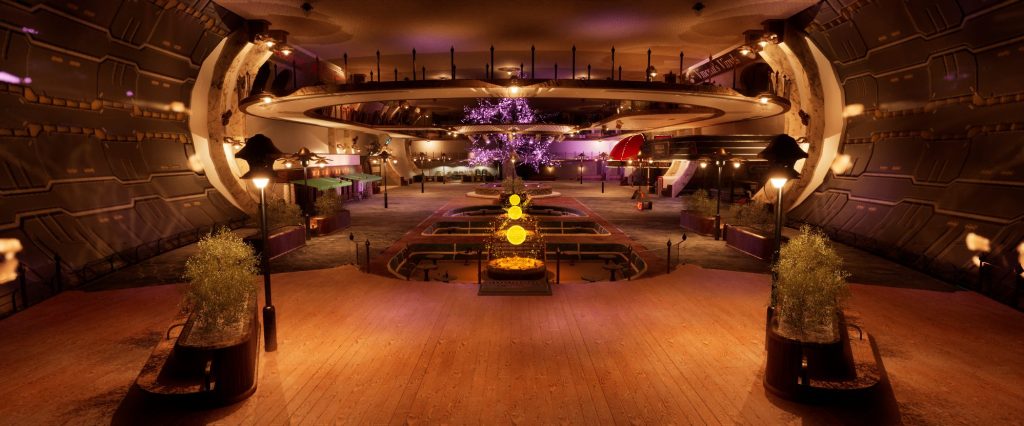
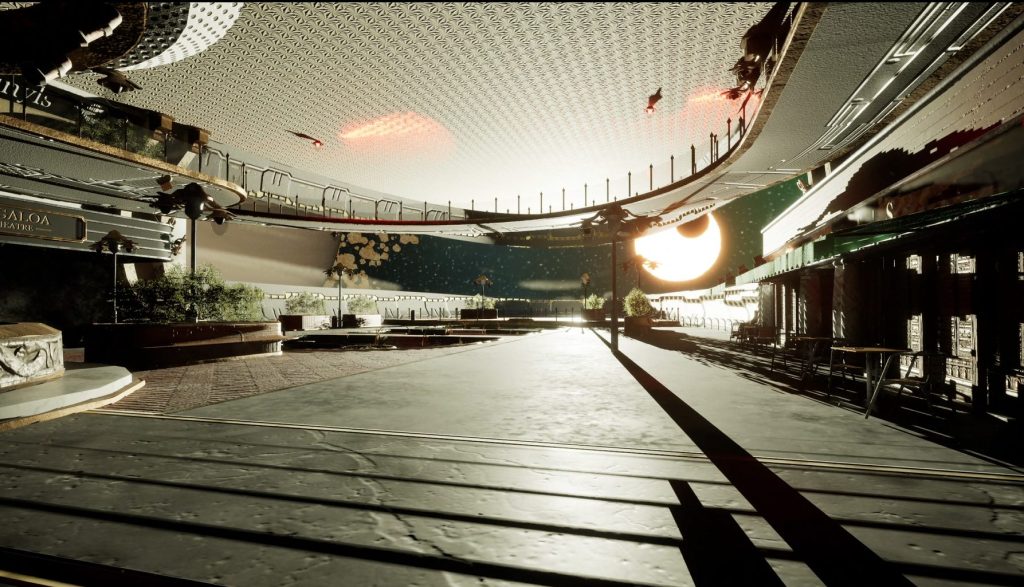
Psyche is a narrative-based linear experience in which the player navigates through an unfamiliar territory, trying to understand what happened by talking to various NPCs along their journey.
The player will go from room to room talking to NPCs, where they can choose from various dialogue options which will change how the game plays out. Along their journey, they will need to unlock new areas by completing puzzles and finding objects in the environment.
Team Working
Within our team, we had a Game Designer, Writer, 3D Artist, and myself as the Lead Programmer. To maintain constant communication, we used Discord. We used Miro to create planning boards, so we all knew what tasks we had to do at any given point. Regular meetings took place to assess the current state of the project and make plans, based on the time we had left.
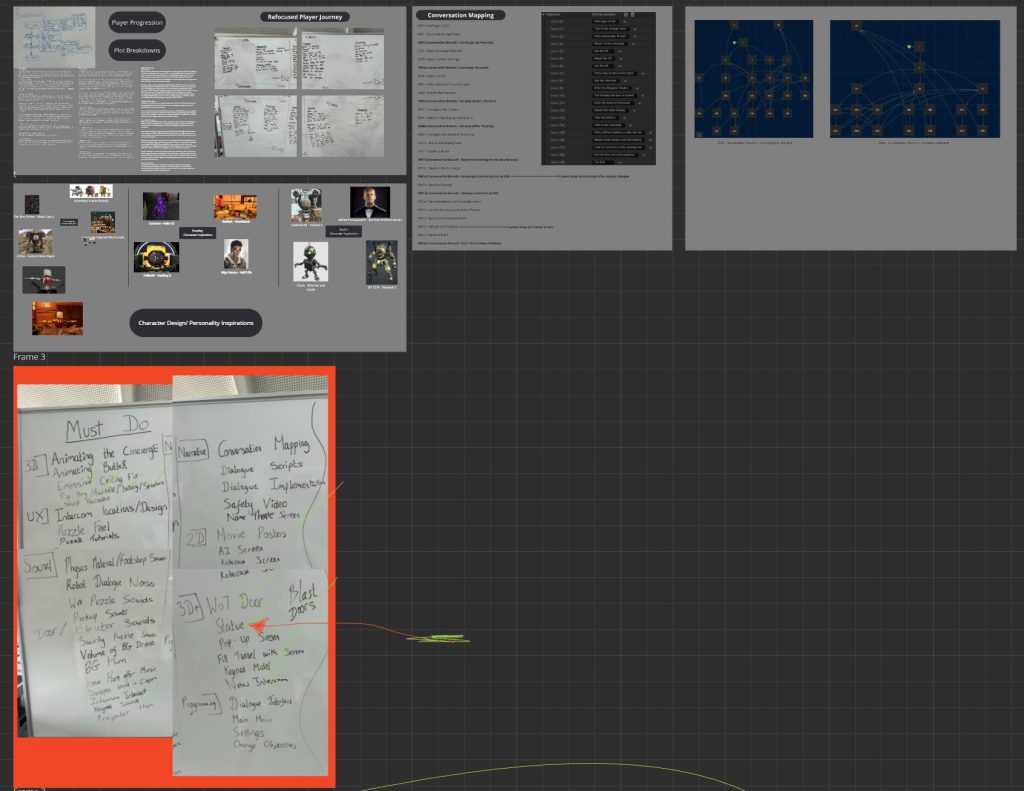
We used a version control software called Diversion to ensure we could all access every member’s latest work. The 3D Modeler and I made most of the changes in engine, with the Game Designer popping in now and then to test the work in progress.
There were many challenges to overcome. With two people making different changes to the project, there were some cases where old and new versions of the same level were combined, which slowed us down. But we adapted our processes accordingly to avoid it reoccurring.
Programming Challenges
Throughout this project, I faced many challenges that forced me to think creatively about how to develop new systems and gameplay mechanics. Here are a few that stood out to me.
The Narrative System
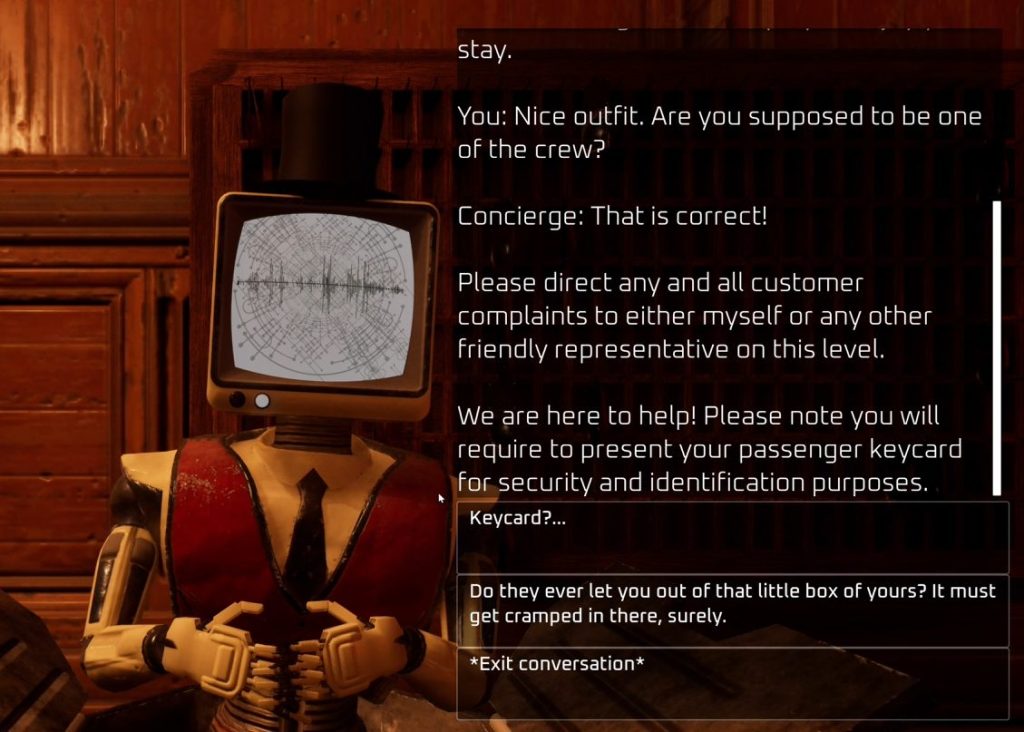
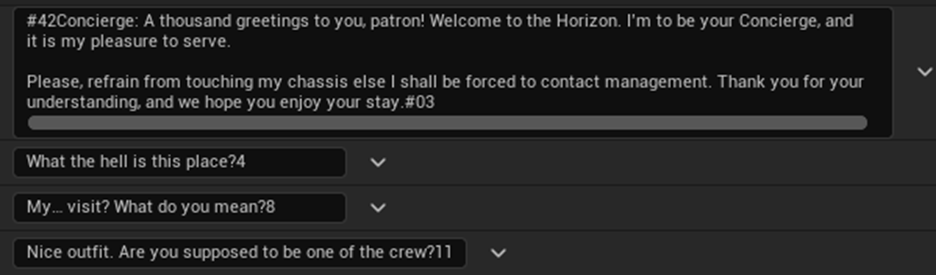
Dialogue is one of the most important parts of the game, as it is the primary tool for expressing the narrative to the player. We needed a way to translate the words written in the script into the game. This has more complex requirements than normal however, as it is non-linear. The player chooses their responses, which then leads them down different narrative paths.
The original plan was to use a software tool called Ink to allow our Writer to create a script and then import it into Unreal, using the Ink plugin. However, due to the Ink plugin not being compatible with our project, we needed to create a narrative system from scratch inside Unreal. We needed to be able to print out lines of dialogue in the correct order, stop to receive user input and then move to the correct line based on that input.
Choose Your Own Adventure
I had already developed a prototype for showing dialogue, breaking down a string into individual characters so that they can be displayed one by one to create the effect of the sentence appearing as the person is speaking.
I was inspired by Choose Your Own Adventure Books. To get this system working, I put all the dialogue and choices in multiple large arrays, using the locations to designate specific dialogue paths. Through trial and error, I was able to pull together a working dialogue system that matched the required goals. I used special characters combined with numbers to execute code before and after dialogue and give each choice a location number, much like a page in a book.
While this system can interpret the script once it is set up, it still requires someone to copy all the lines from the original script and put them into the array in the engine, which took a significant amount of time. This proved to be a weakness of this system. If this vertical slice were going to be turned into a full game, I would improve this system, by automating more of it.
The Mini-Games
The game features puzzles placed around the level. The challenge with these was how to integrate them into an already existing level code. Often, most of the level had already been created, which meant these puzzles had to work by independently within the existing level framework.
Making puzzles work this way limited them to being a single object that the player can interact with. With these limitations, we created three puzzles: a wire box, a lockpicker and a keypad.
Wire Box Puzzle
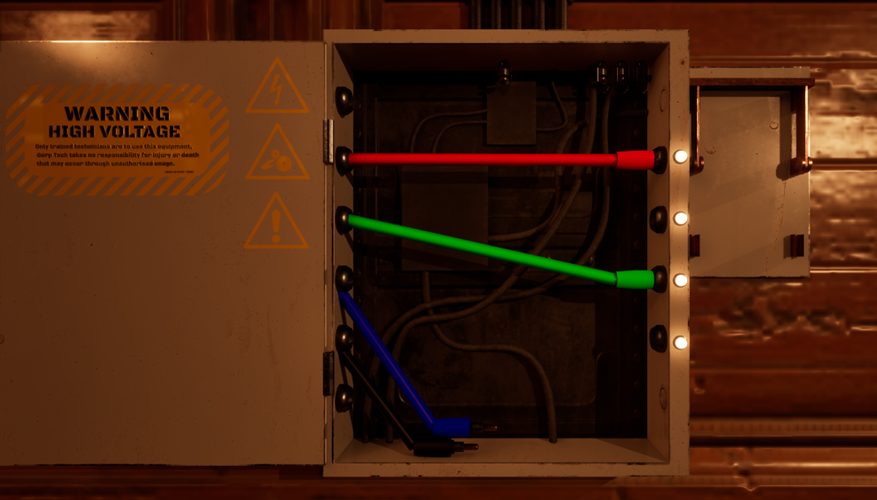
The first puzzle I created required four physics-based wires to be connected to ports inside an electrical box. I had to make sure that the physics of each wire worked – and looked – right.
When interacting with the wire box, the camera is locked into a position, which created my first problem: wires falling out of the box onto the floor outside of the player’s view. This was resolved by using constraints to stop an object from moving on a specific axis.
Another issue I encountered was created when I rotated the box. When an object is rotated 90 degrees left to right, it goes from being on the X-axis to the Y-axis (or vice versa). But I had set up constraints to only move the wires on one axis, meaning that once rotated, the wires no longer move as expected.
This would normally be fixed by using the relative positions of an object, which is its location relative to the blueprint, not the world, so it would be the same regardless of rotation. However, I couldn’t use this method, as the wires are moved via the mouse’s position on the screen and this position can only be translated to world space, not as part of the wire-box blueprint. The solution was more complex, as any object using physics cannot use relative locations.
I needed a way for the code to recognise if the wire box is on the X or Y axis. I implemented an exposed variable that allowed me to set a Boolean to configure X or Y positions. All the locations would need to come from the character blueprint, so I created two variations of locations that would be accessed depending on what the Boolean is set to.
Lockpicker

The next puzzle is different. The terminals that the player interacts with has nothing to do with the puzzle – it just activates it. The actual puzzle is located outside the map, but to give the player the impression that they are hacking a terminal, I needed to find a way to switch from the player camera to the one in the puzzle. I decided to create a simple animation that fades in a black image on the screen and then changes the player’s camera while their vision is blocked.
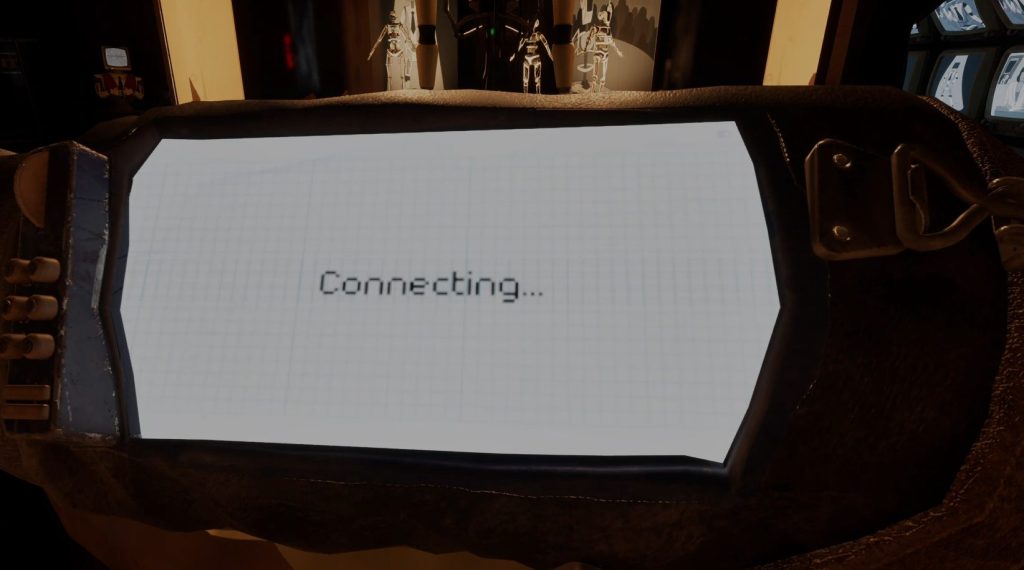
To improve the effect, I created an animation of the hand moving in front of the player’s view while the screen faded out. Putting text on the device also helped sell the effect that the transition to the other camera is meant to represent that their character is looking at a wrist-mounted screen.
The puzzle involves three spinning rows, each with ports sticking out. The idea is to line up these ports with the grooves on the ground, with a click challenging the player’s timing each time they line it up correctly. The row then descends onto the floor, showing the next set of ports which require more complex timing each time. If the player misses a timing window, the row resets a layer and they have to repeat the previous step.
Keypad
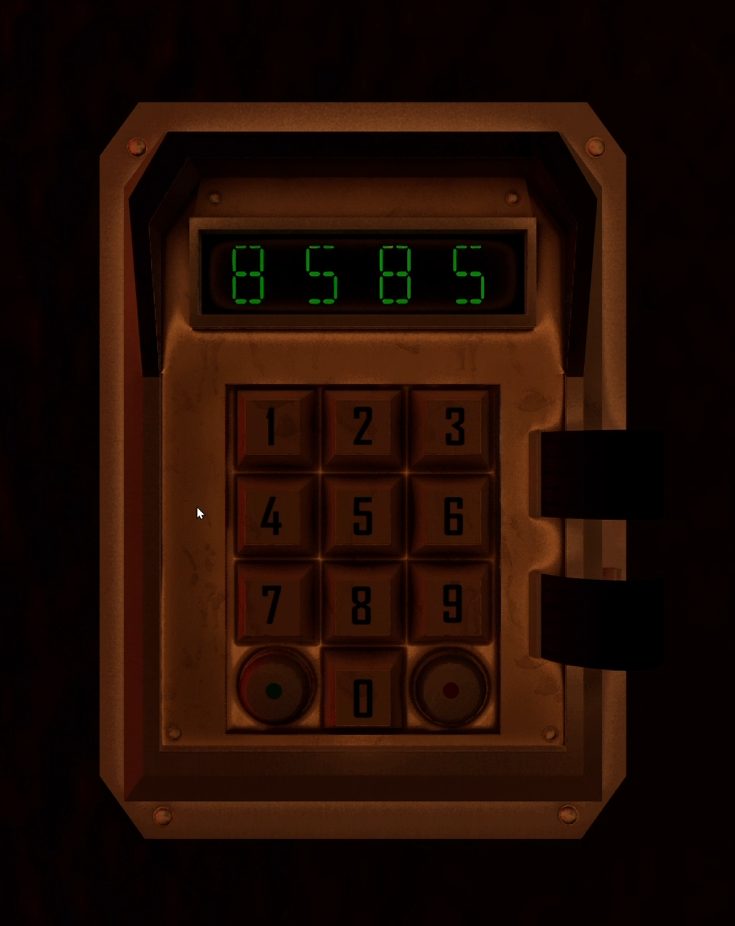
The keypad was simpler to create. Just like the Wire Box mini-game, the camera is centred on the keypad. The keypad receives input from the player via a mouse click, so the code needs to identify which button they clicked and perform the appropriate action. There are ten number buttons and two function buttons to either enter the code or reset it. In theory, you need twelve code paths to trigger each action, but I did it a different way.
I named each of the buttons after the output I wanted, for example if the user clicks the “1” button, the relevant number needs to appear on the screen, so I named the button object “1”. This works because the mouse click creates a line cast to the clicked object, which gets its object name and sends it to the keypad to determine the output. Thus the code sets the text on the screen to the clicked object name, negating the need for different code paths for each numbered button.
For the enter and reset buttons, I still used the names of the objects, but before printing on the screen I checked to see if the sent string contained numbers, differentiating it from the function buttons. If the string does not contain a number, the code moves to a different section to check the name and uses a switch statement to trigger the required code for the reset or enter buttons.
Implementing Scalability Settings
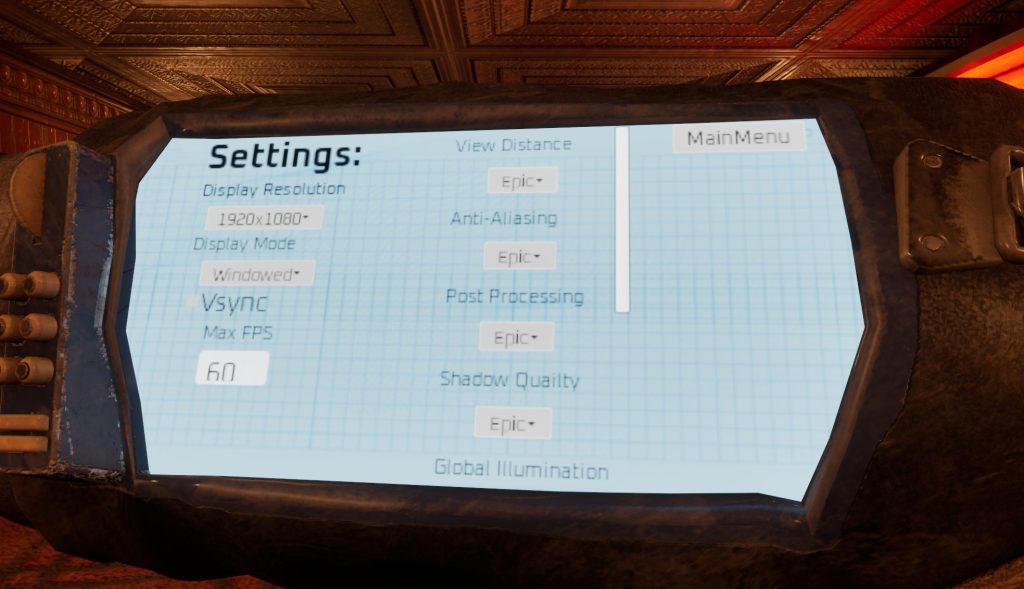
Due to our game using Unreal Engine 5 like Nanaite and Lumen, we needed to give players a way to scale back visual settings to allow the game to be playable on a wider range of hardware. The implementation of this settings menu was simple, thanks to Unreal’s scalability settings, which allow you to change the visual fidelity of various elements in engine, so all I needed to do was allow the player to be able to change these settings in the game, thus allowing them with directly scale the visuals to suit their hardware.